
How can I capture timeless pet portraits in a studio setting?
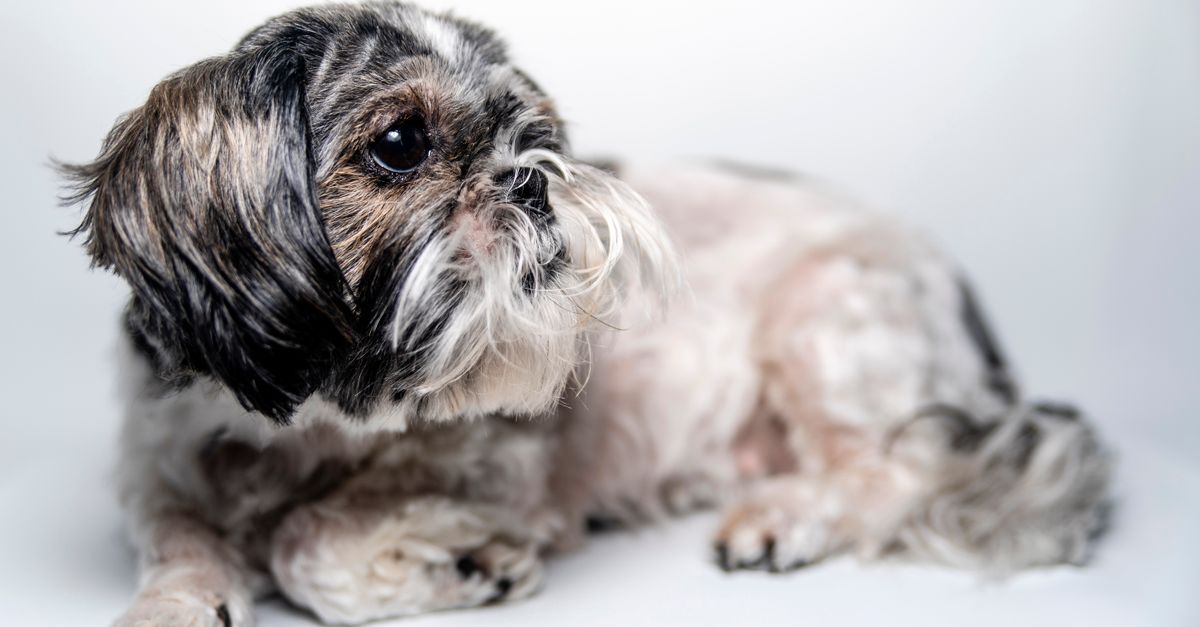
I’ve spent the last decade building and refining photography workflows that deliver high‑quality, timeless images for clients. When I first started photographing pets in a controlled studio environment, my goal was simple: create portraits that look polished now and remain relevant years later. Below is a step‑by‑step case study of the process I use, from setting up the space to delivering the final product.
Understanding the Studio Environment for Pet Photography
The studio is the foundation of every great pet portrait. It must provide consistent lighting, minimal distractions, and a safe space for animals. Start by selecting a room with ample square footage—ideally 12 × 12 feet—to allow flexibility in camera placement and movement.
Essential Studio Setup
- High‑quality softbox or umbrella lighting kit (minimum two lights)
- Adjustable backdrop stand with interchangeable backdrops (neutral colors, natural textures)
- Quiet soundproofing panels to reduce noise that may stress pets
- Temperature control: 68–72 °F for most breeds; cooler for heat‑sensitive dogs
- Portable pet barrier or enclosure to keep animals contained safely during the shoot
- Camera support: sturdy tripod with fluid head for smooth pans and tilts
- Backup power supply for lights and camera in case of outages
By investing early in a clean, controlled space, I eliminate variables that could otherwise compromise image quality or animal safety.
Acoustic and Flooring Considerations
Pets can be sensitive to sudden sounds; therefore, low‑noise floor mats and soft wall panels help create an environment where animals feel secure. A rubberized mat not only reduces echo but also provides a non‑slip surface for small dogs or cats that may need to reposition quickly during a pose.
Choosing the Right Lighting to Highlight Pets
Lighting defines mood, texture, and depth. For pet portraits, I prioritize even illumination with subtle highlights to avoid harsh shadows on fur and eyes.
Lighting Techniques That Work Best for Pets
- Softbox combo: two 24‑inch softboxes at a 45° angle from the subject
- Key light positioned slightly above eye level to mimic natural daylight
- Fill light with lower intensity or reflector to soften shadows without flattening contrast
- Backlighting (rim lights) to separate the pet from the background and add depth
- Use of a diffuser panel for larger dogs to prevent glare on shiny coats
- Color temperature consistency: 5500 K daylight-balanced bulbs across all fixtures
- Optional spotlight for dramatic emphasis on specific features (e.g., whiskers, eyes)
The key is to test the lighting setup with a few test shots before the session starts. Adjust as needed based on the pet’s coat type and the desired aesthetic.
Light Measurement and Modifiers
A handheld light meter helps me verify that the key light delivers roughly 320 lux at the subject’s face, ensuring consistent exposure across multiple sessions. When working with reflective fur or wet noses, I sometimes swap a softbox for an umbrella to diffuse the light more broadly and reduce hotspots.
Preparing Your Pet for a Successful Shoot
A well‑prepared animal reduces anxiety, which translates into more relaxed portraits. Preparation involves both physical grooming and mental conditioning.
Pre‑Shoot Checklist for Pets
- Feed 1–2 hours before the session to avoid distractions from hunger
- Professional grooming: coat brushed, nails trimmed, ears cleaned
- Check for any visible injuries or skin conditions that could be problematic under bright lights
- Introduce the studio environment beforehand—take a short walk in the space with treats and toys
- Use familiar commands (sit, stay, come) to keep the pet responsive during shooting
- Have a small “comfort kit” nearby: favorite blanket or toy for quick reassurance
- Provide regular breaks every 15–20 minutes to prevent overstimulation
- Keep water accessible; hydration reduces stress and keeps fur shiny
By following this routine, I consistently get calm, photogenic pets that respond well to direction.
Training Sessions Before the Day
For breeds known for high energy—such as Jack Russells or Border Collies—I schedule a brief training session a day prior. This allows me to reinforce simple cues and gauge how the animal reacts to unfamiliar equipment, ensuring that the main shoot proceeds smoothly.
Capturing Timeless Moments: Composition and Angles
The composition should honor the pet’s personality while maintaining a classic aesthetic. I use a few proven rules of thumb to ensure each shot feels balanced yet expressive.
Composition Techniques for Pet Portraits
- Rule of thirds: position key features (eyes, nose) along intersecting lines
- Eye level shots to establish connection with the viewer
- Low‑angle shots for larger dogs to emphasize stature without distortion
- Use a shallow depth of field (f/2.8–4) to blur background and focus on facial features
- Incorporate natural elements (grass, leaves) as subtle foreground accents
- Maintain consistent framing: avoid cropping ears or paws unless intentional for stylistic effect
- Experiment with candid moments—playful jumps, gentle sniffs—to capture authentic expressions
- Use the “leading lines” of the backdrop to guide the eye toward the pet’s face
After each session, I review the images quickly to confirm that the composition meets the client’s expectations before proceeding to post‑processing.
Posing Techniques for Cats vs. Dogs
Cats often prefer a more relaxed stance, so I encourage them to sit or lie on a soft cushion and use gentle lures to maintain eye contact. Dogs, especially breeds with expressive faces, can be guided into subtle head tilts or playful poses that showcase their unique quirks while keeping the overall frame tidy.
Post-Processing for Professional Quality
Editing is where the raw footage turns into a polished product. My workflow focuses on color accuracy, texture preservation, and subtle enhancement to keep the image timeless.
Key Editing Steps
- White balance correction using a grey card reference taken during the shoot
- Noise reduction for high ISO settings while preserving fur detail
- Lens correction: remove barrel distortion if any, adjust vignette for balanced exposure
- Selective sharpening on eyes and nose to draw attention without over‑smoothing
- Color grading: apply a neutral preset with slight warmth (≈+5 °) to emulate natural daylight
- Retouch minor blemishes using spot healing, but avoid altering coat patterns or texture
- Export in 16‑bit RAW format for future flexibility and high-resolution JPEGs at 300 dpi for prints
- Create a watermark or subtle logo overlay on the final image to protect ownership
My editing pipeline is automated with Lightroom presets, ensuring consistency across sessions while allowing quick adjustments when needed.
Advanced Retouching Techniques
When working with coats that have visible dust or minor skin imperfections—common in older dogs—I use frequency separation to clean the fur without flattening texture. This technique preserves the natural sheen and depth, ensuring the portrait remains realistic and dignified.
Building a Repeatable Workflow to Scale Your Service
A well‑structured workflow reduces turnaround time and improves client satisfaction. Below is the system I employ from booking through delivery.
Workflow Overview
- Online intake form capturing pet details, preferred poses, and any special requests
- Automated confirmation email with pre‑shoot checklist and studio policies
- Scheduled session slots with buffer time for unexpected delays (e.g., longer grooming)
- On‑site setup checklist completed by the photographer before the client arrives
- Real‑time progress updates via a private client portal during the shoot
- Post‑shoot review: deliver 12–15 images within 48 hours for final selection
- Final delivery: high-resolution JPEGs, RAW files (optional), and print-ready PDFs in a secure download link
- Feedback survey to capture satisfaction metrics and identify improvement areas
This process keeps my operations lean while maintaining service quality. Automation tools like Zapier integrate booking data into my editing workflow, cutting manual data entry by 70 %.
Client Portal Features
The portal allows clients to preview images in a gallery format, select their favorites using an intuitive voting system, and request minor edits directly from the interface. This transparency reduces back‑and‑forth communication and speeds up the final approval stage.
Common Mistakes and How to Avoid Them
Even experienced photographers encounter pitfalls. Recognizing them early can prevent costly errors.
Top Five Errors in Studio Pet Photography
- Over‑exposure of fur leading to loss of texture—always check histogram before committing
- Failing to acclimate pets to the studio environment, causing nervous behavior during shoots
- Using too many lights or harsh sources that create glare on wet noses or shiny coats
- Neglecting to back up RAW files immediately after capture, risking data loss
- Underestimating client expectations—communicate realistic timelines and deliverables upfront
Avoiding these mistakes keeps the workflow efficient and the final product high‑quality.
Measuring Success: Metrics for Studio Pet Photography Business
Quantitative data informs strategic decisions. I track both financial and qualitative metrics to gauge performance.
Key Performance Indicators (KPIs)
- Client acquisition cost (CAC) vs. average revenue per client
- Average turnaround time from booking to delivery
- Repeat business rate: percentage of clients who book additional sessions within 12 months
- Net Promoter Score (NPS): client satisfaction survey score
- Print sales conversion: ratio of digital purchases to print orders
- Social media engagement on portfolio posts (likes, shares, comments)
- Operational cost per session (lighting, backup storage, printing supplies)
By reviewing these metrics quarterly, I identify opportunities for scaling and improving client experience.
Return‑On‑Investment Tracking
I calculate the ROI for each session by comparing total revenue to variable costs such as energy consumption, cloud storage fees, and print materials. This granular view informs pricing adjustments and helps me allocate resources toward high‑margin services like custom framing or premium photo books.
The most important takeaway: a consistent, well‑planned studio setup combined with thoughtful lighting and pet preparation yields timeless portraits that satisfy clients and stand the test of time. What specific challenges do you face when photographing pets in a studio, and how have you addressed them?


