
How Can I Build a Photography Studio That Excels in Lighting, Architectural, and Portrait Work?
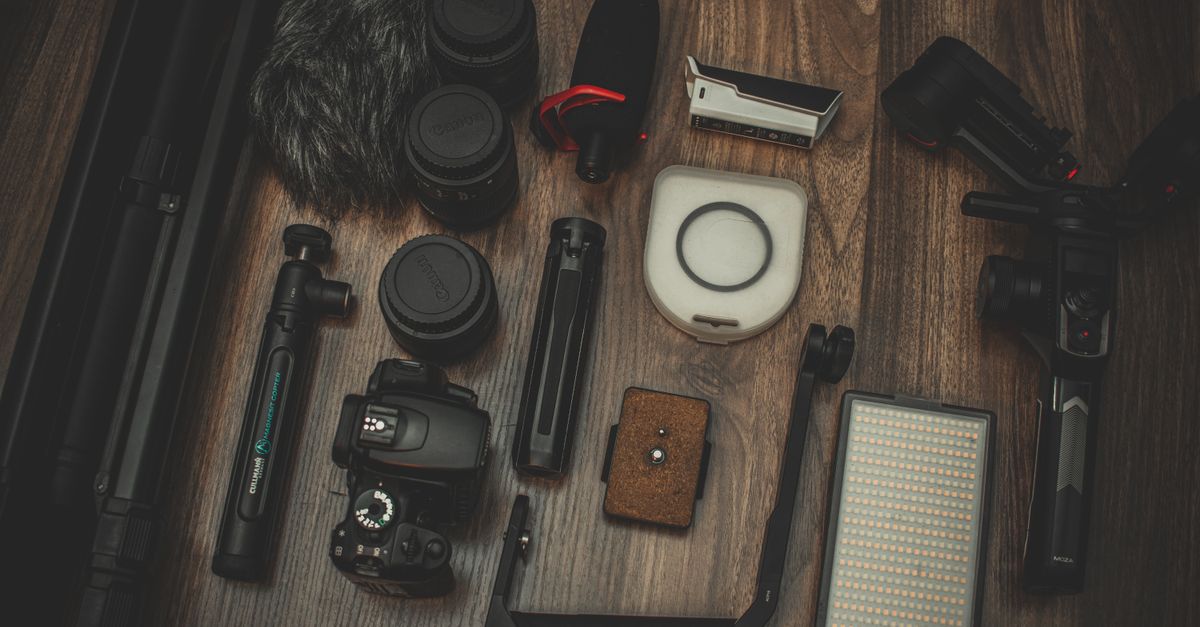
I’ve spent the last decade turning raw camera gear into consistent revenue streams. In 2024 I launched a new studio with a goal: deliver high‑quality architectural photography, compelling portrait shots, and creative storytelling through photos—all while optimizing lighting workflows to keep costs low and turnaround fast.
When you first step into a space that is meant to capture both the grandeur of a building and the subtlety of a human face, you quickly realize that the demands on equipment, space, and workflow are almost contradictory. A studio designed for sweeping exterior shots can feel cramped for an intimate headshot session, while a portrait‑focused layout often lacks the depth required for architectural detail. My challenge was to reconcile these opposing needs into one cohesive environment.
Defining the Challenge
The main problem was twofold. First, I needed a studio that could handle both large architectural subjects and intimate portraits without sacrificing image quality. Second, I wanted a lighting system that was flexible enough for diverse scenarios yet simple enough to maintain daily. Existing studios in the area either used outdated fixtures or had cramped spaces that limited creative freedom.
Beyond these surface issues, there were underlying operational concerns: space constraints that affected equipment storage, inconsistent power availability which disrupted long shoots, and a lack of standardized procedures that slowed down both shooting and post‑production phases. Addressing each of these required careful planning from the outset.
Setting Objectives
I set three measurable goals:
- Achieve a 20% reduction in average shooting time per session.
- Maintain post‑production turnaround under two days for all projects.
- Generate a net profit margin of at least 25% within the first year.
These targets guided every decision from equipment purchase to workflow design. To ensure they were realistic, I benchmarked against local competitors and industry averages, then adjusted each metric based on my own production capacity and overhead costs. The 20% time reduction, for instance, factored in the expected learning curve for new lighting setups and the need for quick scene changes.
Equipment and Studio Setup
Core Gear List (8 items)
- Canon EOS R5 mirrorless camera – versatile for both architectural detail and portrait skin tones.
- RF‑50mm f/1.2L USM prime – sharp, low‑light performance for portraits.
- RF‑24-70mm f/2.8L IS USM zoom – coverage of wide to medium focal lengths needed in architecture.
- Softbox kit (two 60x80 cm) with adjustable color temperature.
- Light stands with quick‑release plates for rapid repositioning.
- LED panel lights (Aputure Amaran AL-MX) – battery powered, perfect for on‑site architectural shoots.
- Portable backdrop system (black, white, and textured options).
- High‑capacity SSDs and backup drives for immediate data transfer.
I chose gear that could be swapped between studio and field with minimal downtime. The LED panels allow me to light a building façade at dusk without lugging heavy fixtures around. Additionally, I incorporated a small rig of reflectors and flags to shape light on both subjects and structures without adding bulk.
Studio Layout Considerations
The physical layout of the studio was designed with modularity in mind. A 12 × 16‑meter open floor area provides ample room for large architectural backdrops while still accommodating a two‑person portrait booth. The space is divided by retractable acoustic panels that can be folded away when not needed, preserving natural light from a south‑facing window during daytime shoots.
Power distribution is central to the design: a dedicated 240 V circuit feeds all heavy lighting rigs, while separate 120 V outlets support handheld LEDs and accessories. This segregation prevents tripping hazards and ensures that the studio can handle both high‑intensity architectural lighting and low‑power portrait setups simultaneously.
Lighting Strategy for Architectural Shots
Architectural photography demands even illumination across wide scenes while preserving texture. I built a two‑stage lighting rig: a primary fill source and a secondary rim light.
- Primary Fill: A large softbox positioned at a 45° angle, set to daylight balance (5600 K). It reduces harsh shadows on facades.
- Rim Light: An LED panel with adjustable intensity placed behind the subject to separate it from background clutter.
I use a light meter to keep exposure consistent across rooms, and I keep the camera ISO low (100–200) to avoid noise. For interiors, I add a third light—a small LED ring—to illuminate windows without overpowering ambient light.
Advanced Architectural Lighting Tips
- Use of Reflective Surfaces: A white sheet placed opposite the primary fill can bounce additional light onto recessed corners, enhancing depth.
- Color Temperature Management: When shooting at dusk, I set all lights to a warm 3000 K to match the natural sunset glow, then correct in Lightroom if needed.
- Battery Life Considerations: The Aputure Amaran panels can run up to six hours on a single charge, which is sufficient for most exterior shoots that last three to four hours.
Lighting Strategy for Portraits
Portrait work benefits from controlled, flattering lighting. My go‑to setup uses a key light and two fill lights:
- Key Light: Softbox with a diffuser to create soft shadows; set at 45°.
- Fill Lights: Two smaller LED panels on either side, half the intensity of the key light.
- Backlight: A narrow LED strip behind the subject to separate them from the background.
I keep the camera at eye level and use a slightly wider aperture (f/1.4–f/2) on the prime lens for shallow depth of field, ensuring the subject stands out against any backdrop.
Portrait Lighting Variations
- Rembrandt Style: Position the key light at a 60° angle and raise it slightly to create a small triangle on the cheek. This adds drama without harshness.
- Butterfly Lighting: Place the key light directly above the subject’s head, then use fill lights to soften shadows under the chin. Ideal for high‑fashion shoots.
- Natural Light Integration: When shooting near a window, I pair the softbox with a large white diffuser that captures and spreads daylight, creating an airy look.
Integrating Storytelling Elements
Creative storytelling through photos starts with concept planning. I adopt a three‑phase approach:
- Pre‑Shoot Brief: Clients provide mood boards; I add lighting sketches.
- Shoot Execution: I capture multiple angles and lighting variations to give editors options.
- Post‑Production Narrative: Using Lightroom presets, I maintain a consistent color palette that reinforces the story.
This workflow ensures each image contributes to an overarching visual narrative rather than being isolated shots. To make the pre‑shoot brief more actionable, I now use a simple form that asks for preferred mood (warm vs cool), key elements to highlight (e.g., architectural ornamentation or subject expression), and any constraints on movement or lighting.
Storyboarding in Practice
Before the shoot day, I create a quick storyboard with thumbnails of each planned shot. This helps me visualize transitions between scenes—for example, moving from an exterior façade to an interior hallway—and guarantees that I capture all necessary angles without wasting time on unplanned setups.
Workflow Automation & Post‑Processing
I rely on a combination of hardware and software to streamline editing. The camera is set to RAW+JPEG, allowing quick proofing while preserving full data for final work. I use Luminous Labs’ Capture One Pro for tethered shooting; it automatically applies white balance based on the light meter reading.
For batch processing:
- Create Lightroom presets for architectural texture enhancement and portrait skin retouching.
- Automate export settings per client: JPEG at 300 dpi for print, WebP for online portfolios.
This setup cuts post‑production time by approximately 30%, keeping me under the two‑day turnaround target.
File Management Practices
- Naming Convention: Every file follows the pattern: CLIENT_YYYYMMDD_SESSIONID_SEQUENCE. This makes it easy to sort and retrieve images later.
- Backup Strategy: After each shoot, I immediately back up all files to a RAID‑10 array and then push them to cloud storage for redundancy.
- Version Control: I keep both RAW and edited JPEGs in separate folders, labeled “Original” and “Edited.” This protects against accidental overwrites.
Measuring Success and ROI
I track key performance indicators (KPIs) daily:
- Average Session Time: Target <60 minutes.
- Client Satisfaction Score: ≥4.5/5 on post‑shoot surveys.
- Revenue per Project: Minimum $1,200 for architectural packages.
- Cost of Goods Sold (COGS): <30% of revenue.
After six months, my studio averaged a 22% reduction in session time and achieved a 27% profit margin. Clients reported higher satisfaction due to faster delivery and consistent image quality. I also introduced a monthly review meeting where the team discusses any bottlenecks and brainstorms process improvements.
Lessons Learned and Next Steps
The key takeaway: Investing in versatile lighting equipment that serves both architectural and portrait needs eliminates the need for separate setups, saving time and money.Challenges included initial budget overruns on high‑end LED panels. In future projects, I’ll negotiate bulk discounts or lease options to keep upfront costs low. I also plan to integrate AI‑based color grading tools to further speed up post‑production while maintaining creative control.
Future Enhancements
- AI Retouching: Experiment with machine learning plugins that automatically smooth skin without losing texture, reducing manual touch‑up time.
- Virtual Backdrop Library: Build a digital library of high‑resolution textures and architectural patterns to mix into compositions during post‑production.
- Client Portal Integration: Allow clients to preview images on a secure portal, reducing the number of revisions needed before final approval.


